

When an online evaluator runs on any run within a trace, the trace will be auto-upgraded to extended data retention. This upgrade will impact trace pricing, but ensures that traces meeting your evaluation criteria (typically those most valuable for analysis) are preserved for investigation.
View online evaluators
In the LangSmith UI, head to the Tracing Projects tab and select a tracing project. To view existing online evaluators for that project, click on the Evaluators tab.
Configure online evaluators
1. Navigate to online evaluators
Head to the Tracing Projects tab and select a tracing project. Click on + New in the top right corner of the tracing project page, then click on New Evaluator. Select the evaluator you want to configure.2. Name your evaluator
3. Create a filter
For example, you may want to apply specific evaluators based on:- Runs where a user left feedback indicating the response was unsatisfactory.
- Runs that invoke a specific tool call. See filtering for tool calls for more information.
- Runs that match a particular piece of metadata (e.g. if you log traces with a
plan_typeand only want to run evaluations on traces from your enterprise customers). See adding metadata to your traces for more information.
4. (Optional) Configure a sampling rate
Configure a sampling rate to control the percentage of filtered runs that trigger the automation action. For example, to control costs, you may want to set a filter to only apply the evaluator to 10% of traces. In order to do this, you would set the sampling rate to 0.1.5. (Optional) Apply rule to past runs
Apply rule to past runs by toggling the Apply to past runs and entering a “Backfill from” date. This is only possible upon rule creation.The backfill is processed as a background job, so you will not see the results immediately.
- Add an evaluator name.
- Optionally filter runs that you would like to apply your evaluator on or configure a sampling rate.
- Select Apply Evaluator.
6. Configure the LLM-as-a-judge evaluator
View this guide to configure an LLM-as-a-judge evaluator.7. (Optional) Map multimodal content to evaluator
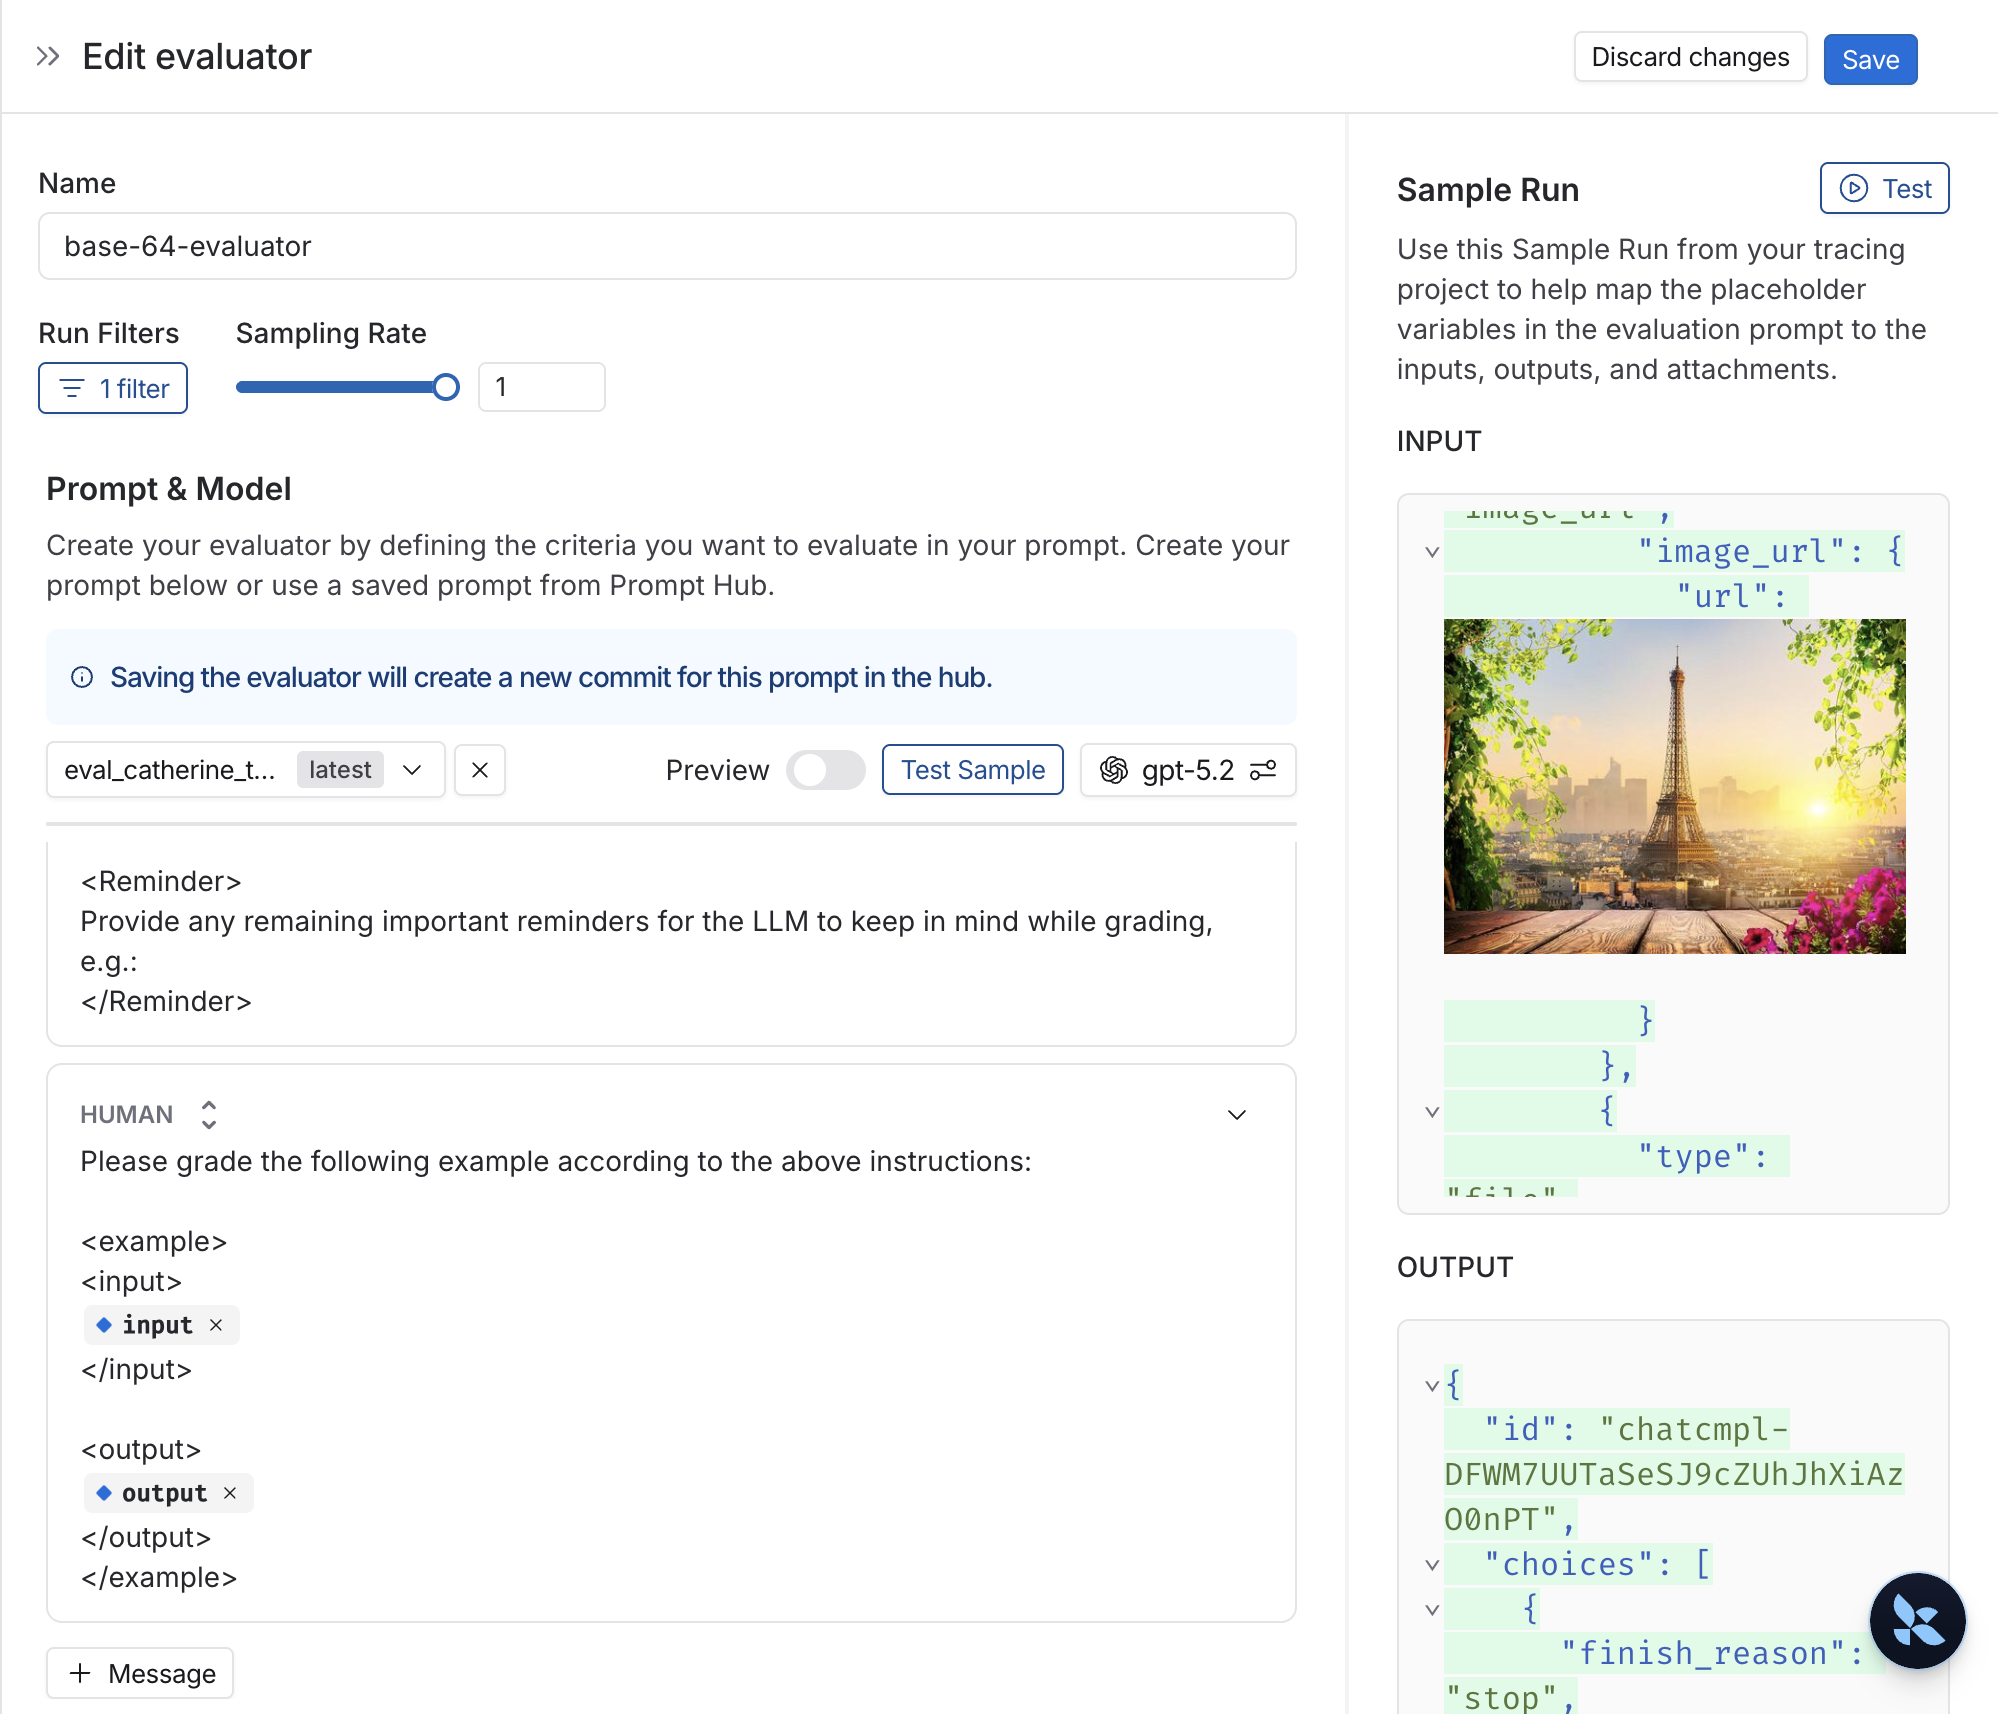
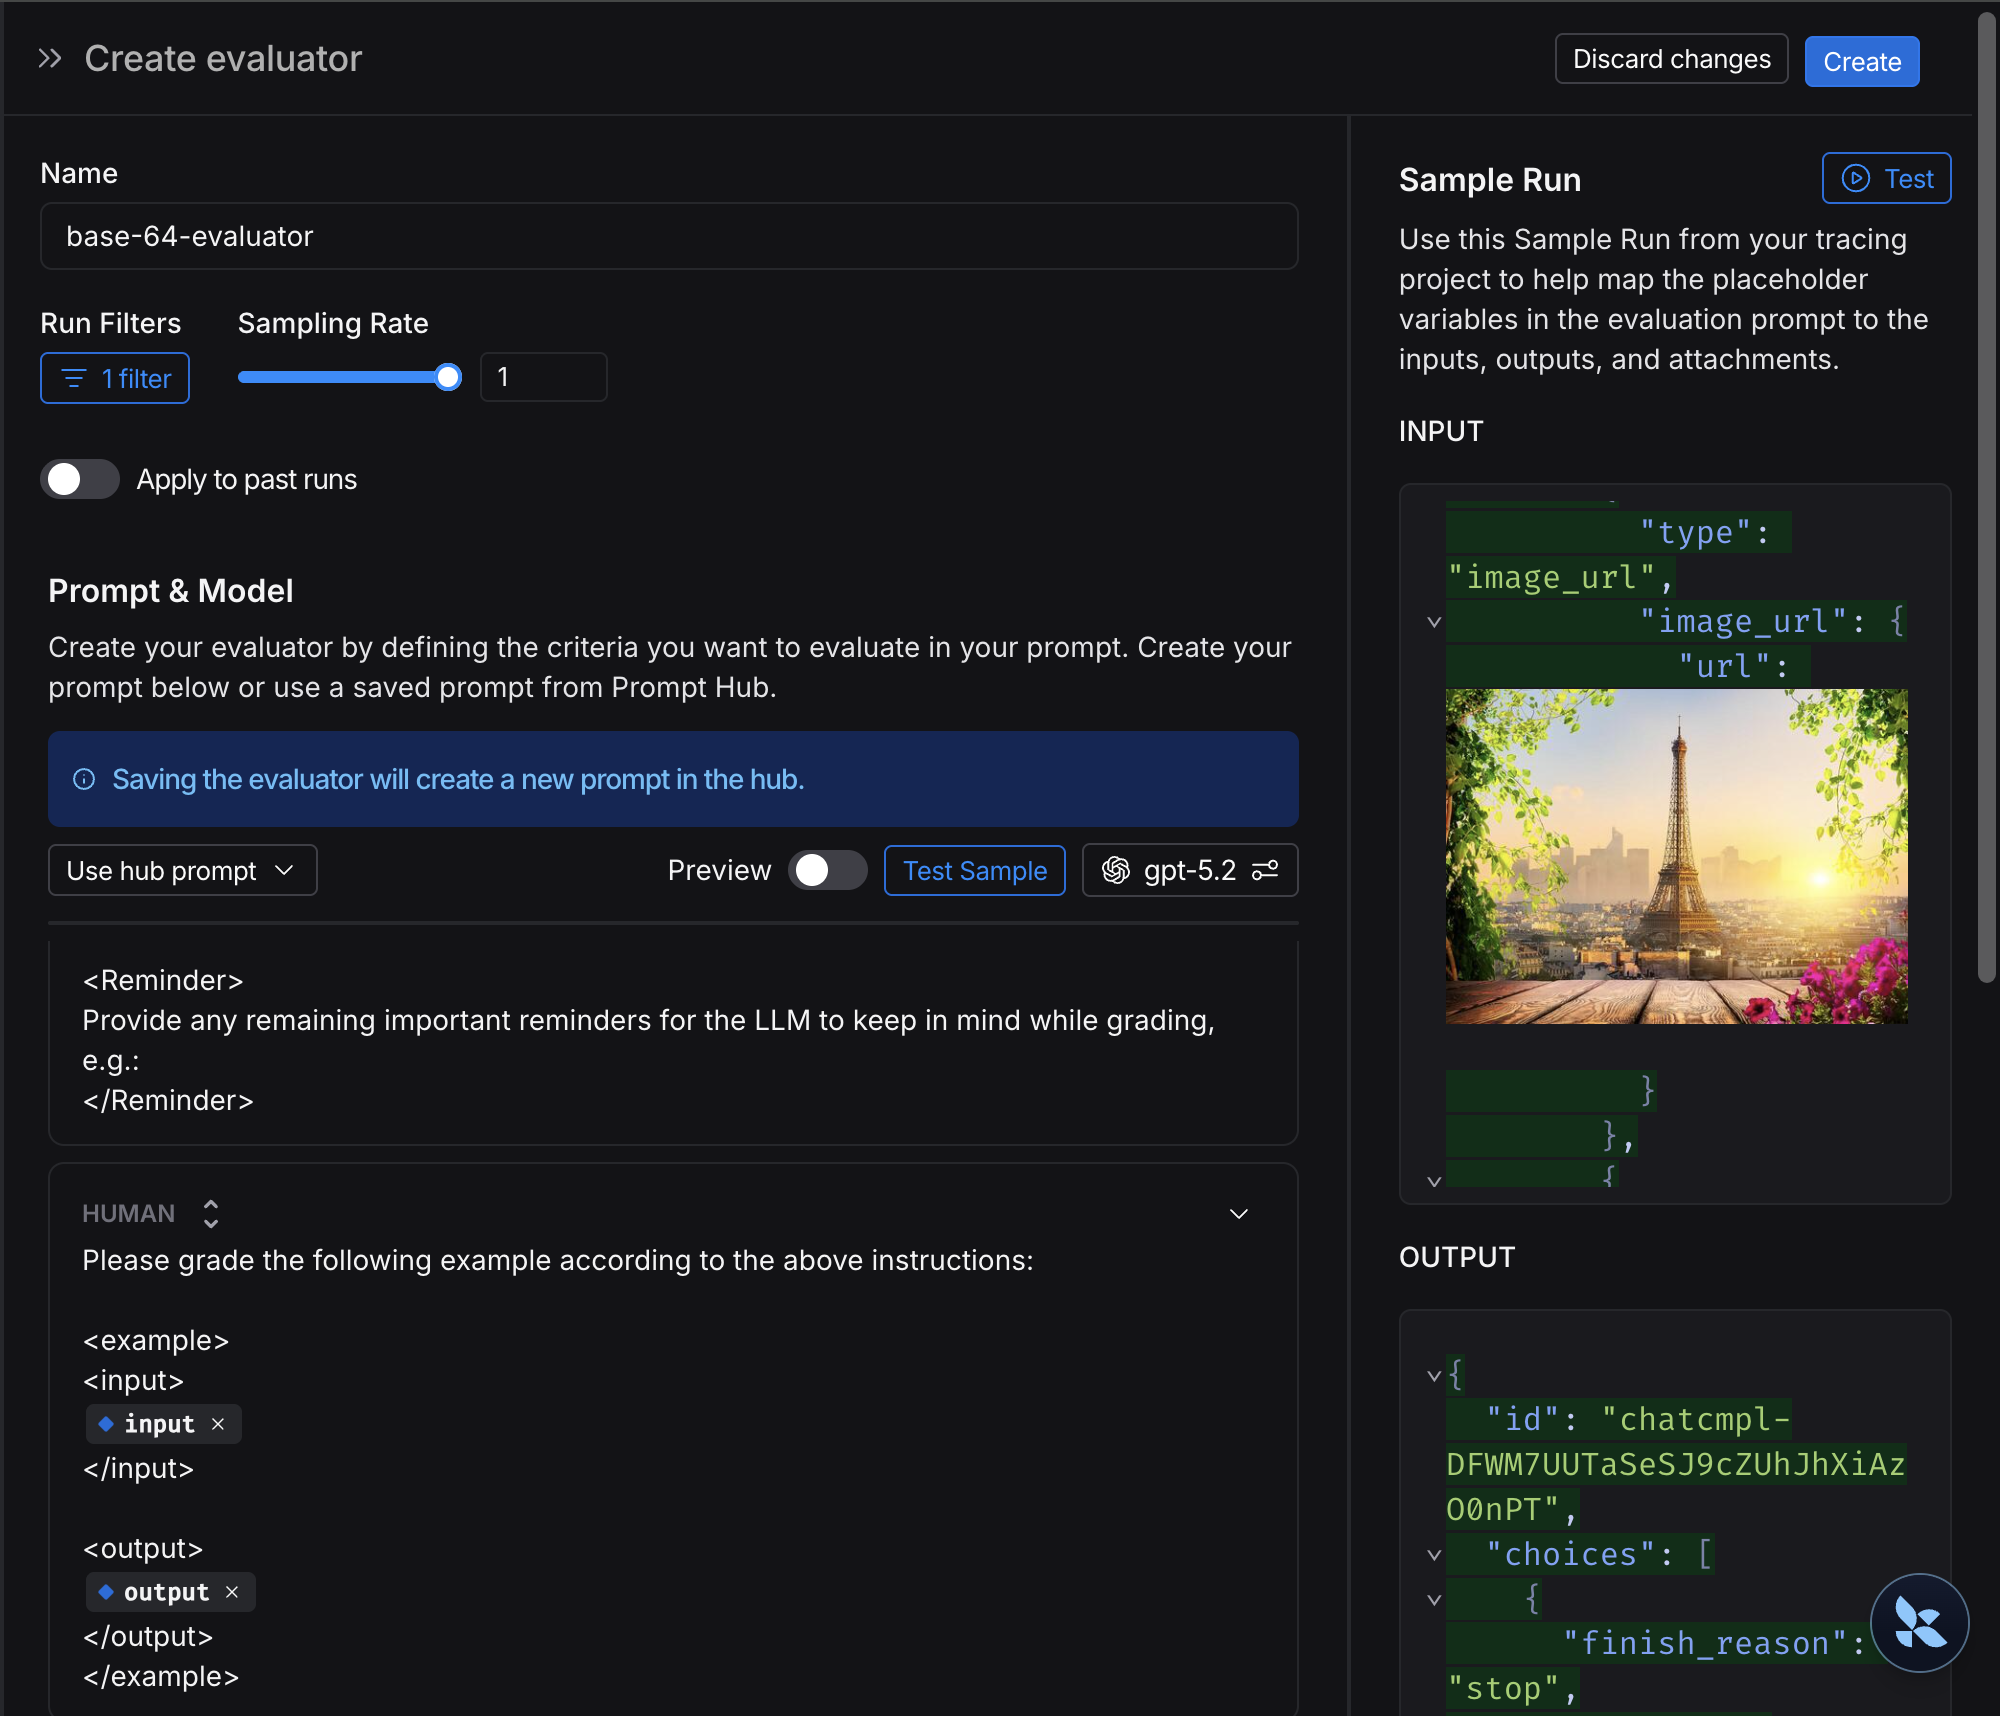
If your traces contain multimodal content like images, audio, or documents, you can include this content in your evaluator prompts. There are two approaches:- Using base64-encoded content from traces: If your application logs multimodal content as base64-encoded data in the trace (for example, in the input or output of a run), you can reference this content directly in your evaluator prompt using template variables. The evaluator will extract the base64 data from the trace and pass it to the LLM.
-
Using attachments from traces: Similar to offline evaluations with attachments, you can use attachments from your traces in online evaluations. Since your traces already include attachments logged via the SDK, you can reference them directly in your evaluator.
- Select + Evaluator from the dataset page.
- In the Template variables editor, add a variable for the attachment(s) to include:
- If you want to include a specifc attachment, you can use the suggested variable name, such as
{{attachment.file_name}}, this will map the file withfile_namein the attachment list to pass it to the evaluator. - If you want to include all attachments, use the
{{attachments}}` variable.
- If you want to include a specifc attachment, you can use the suggested variable name, such as
- Verify if an image description matches the actual image in the trace.
- Check if a transcription accurately reflects the audio input.
- Validate if extracted text from a document is correct.
Video guide
Connect these docs to Claude, VSCode, and more via MCP for real-time answers.